Sam Bartholomew is a student in Digital Humanities at Belmont University.
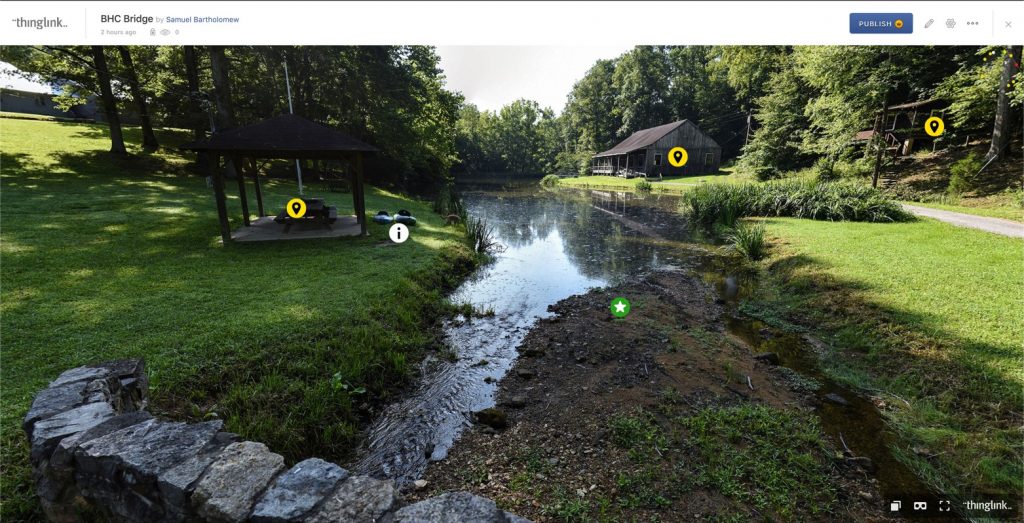
Thinglink is an online workspace that allows you to annotate and tag photos and videos for presentation online. The user can add image and text, link other wesbites within an image or video, and use a collection of annotated files to create a virtual tour. The images and videos can either be standard rectilinear image or video or an equirectangular (360) image or video which allows a user to pan around a scene with the ability to place tags on any location within the image.
The interface itself is intuitive and very easy to figure out without any tutorials. An account is required and features are limited for free users. The software is not cheap for the professional user with yearly memberships costing around $600 dollars. In order to publish any images or videos the user has annotated, the user must pay for an upgraded account. A user can explore other creator’s work, provided they have made it public.
The most common and practical use of the interface is for e-learning and design purposes. For instance, a science teacher could annotate a drawing of the layers of the earth showing the ocean and crust sections and make notes within the image for the students to explore. An interior designer could mark up an overhead view of a home for the client to view notes about different spaces and pieces within the design. An urban planner could mark key elements in a plan for a neighborhood of the city for a city council and general population to explore and ask questions about the image and its notes.
There are limitations for sizes of images, and there are specific requirements for the aspect ratio and pixel dimensions for equirectangular uploads or the interface with show an error and cancel the upload.
How to Use:
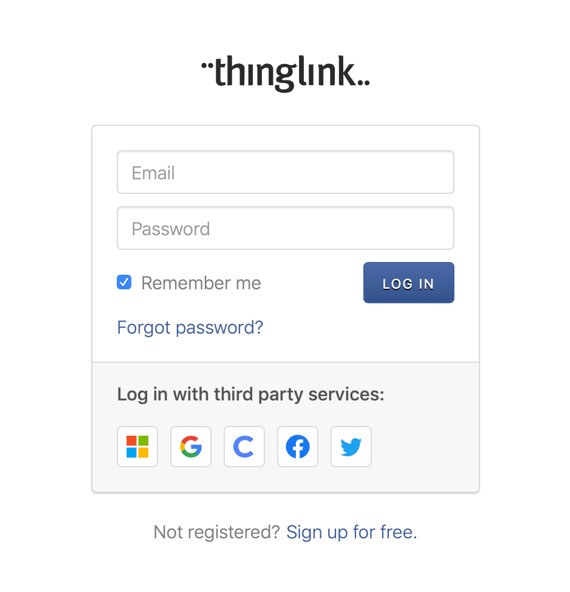
- Google “Thinglink” or go to www.thinglink.com.
- Click “Log In” in the menu bar to sign in or tpcreate a new account. (You can use a Google or similar account if that’s your preference.)
3. Click “Create” to make a new project and select the format of your desired upload.
4. Once the editor opens, click add tag to start annotating the project.
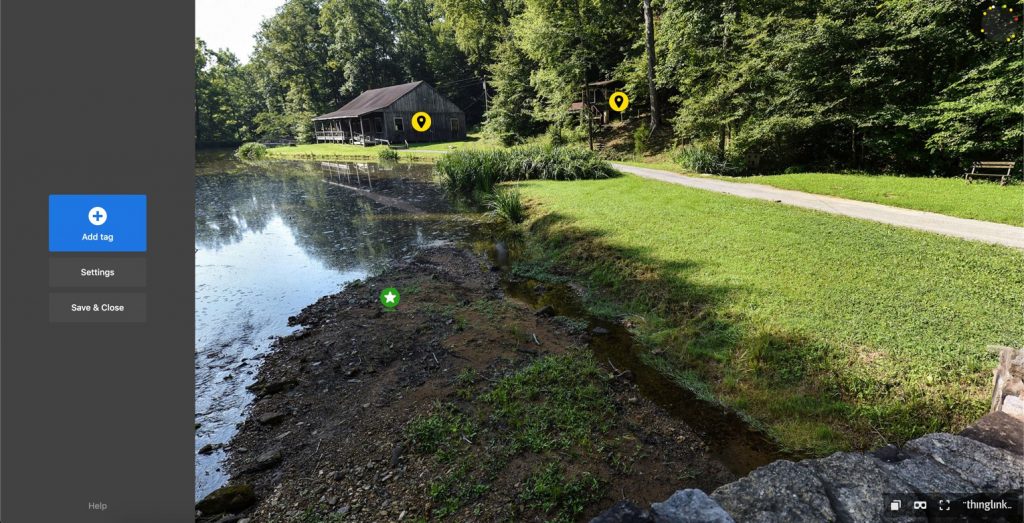
5. Add as many tags as needed/wanted and click “Save & Close” when you’re ready.
6. You can now preview your project and have the option of publishing it if your account allows it.