Sarah Travis is a student in Digital Humanities at Belmont University.
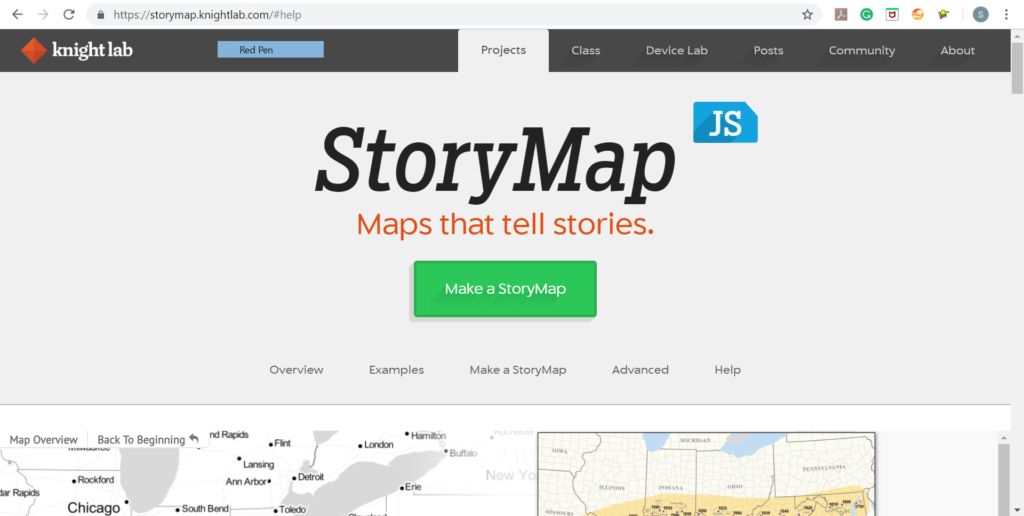
StoryMapJS, made by Northwestern University Knight Lab, is a way to tell stories using the location and date of an event. StoryMapJS allows users to make a slide show presentation that moves around a map based on the location of the events it talks about.
Here is the link to the StoryMap I created, click here.
The tool is free to use and is best accessed through a Google account. It is possible to use StoryMapJS without a Google account, but there are some features that are unusable without one. The program utilizes a map and users can search for specific locations by name, address or longitude and latitude. Users can add media to StoryMapJS from Twitter, Flickr, YouTube, Vimeo, Google Maps, Wikipedia, SoundCloud, and more. StoryMapJS is user friendly and offers examples, tips and tricks, frequently asked questions and how to get help. Your StoryMap can be shared by its unique link and the tool makes it easy to share projects on social media. StoryMaps are best created and viewed on a laptop or desktop computer but the tool is accessible on your smartphone using the same web address.
I built a story map using an article about the history of the World Wide Web. After selecting a few events to map out, I was able to build my slides by adding where and when the event took place. StoryMapJS was fairly easy to use and if you have used PowerPoint or Prezi you will quickly get the hang of StoryMapJS. The more time you spend to explore the features, the more you can add to your presentation.
One struggle I encountered was that my locations were not very concentrated. The history of the internet is spread across the globe, so my slides jumped around the map. I would recommend to others to use StoryMapJS to explain events that happened in closer proximity to each other. I also found that some of the events I wanted to talk about were not in a specific location, it would be better to tell a story that has a strong location narrative. I would like to use StoryMapJS again in the future with a story that is more focused in one place and has more location specific events.
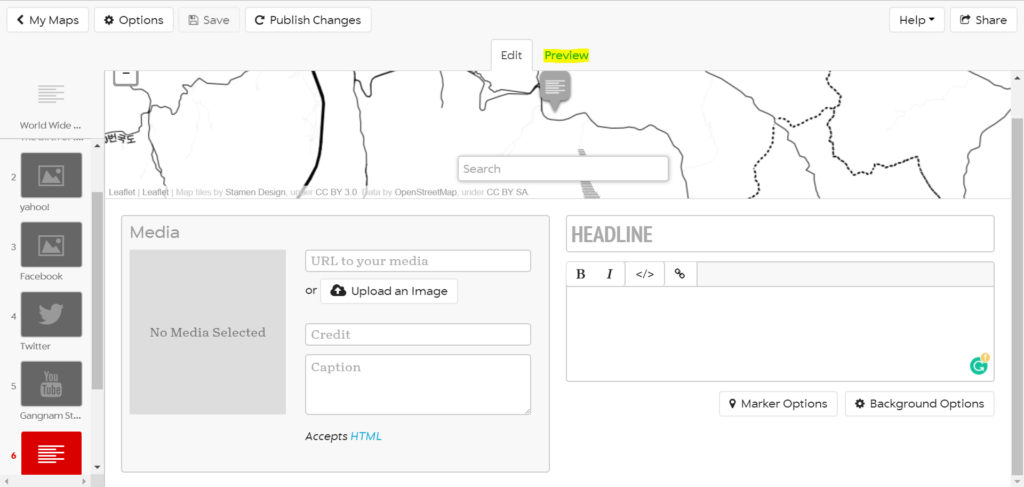
Basic Steps for Using StoryMapJS
- Go to https://storymap.knightlab.com/, select “Make a StoryMap” and login with your Google Account
- Create a title slide
- Add more slides to your presentation by selecting “Add Slide” along the left side of the page.
- Add a location to your slide by searching for its name, address, or latitude and longitude
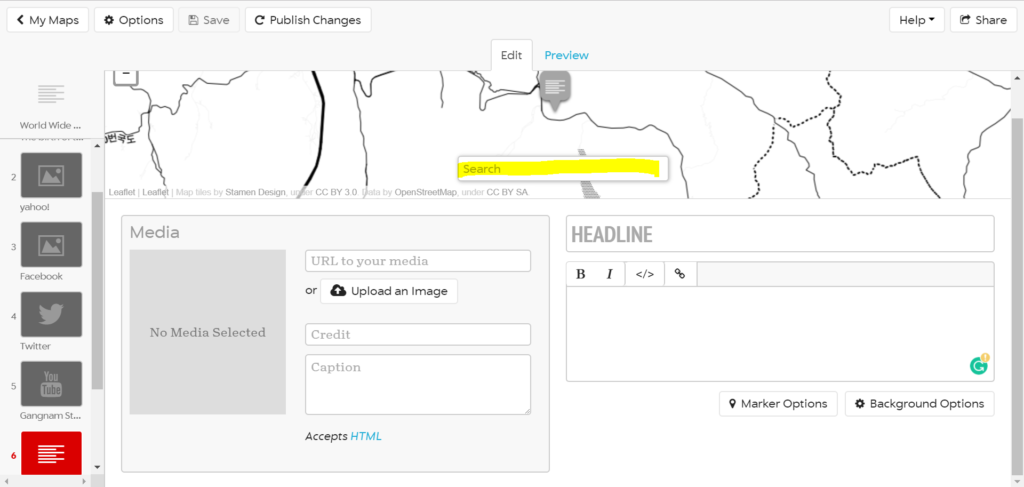
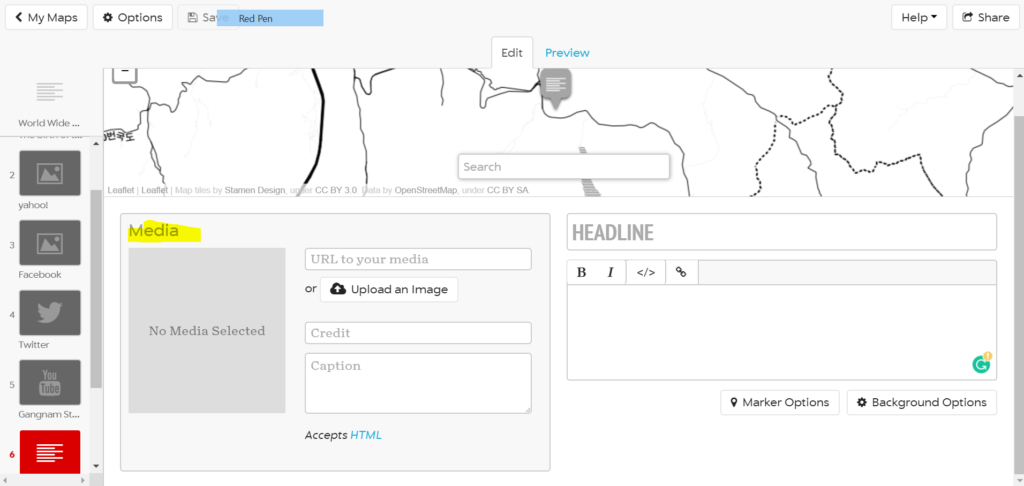
- 4. Add images, videos or links to other media by using the media box, here you can also credit the creator and caption your media.
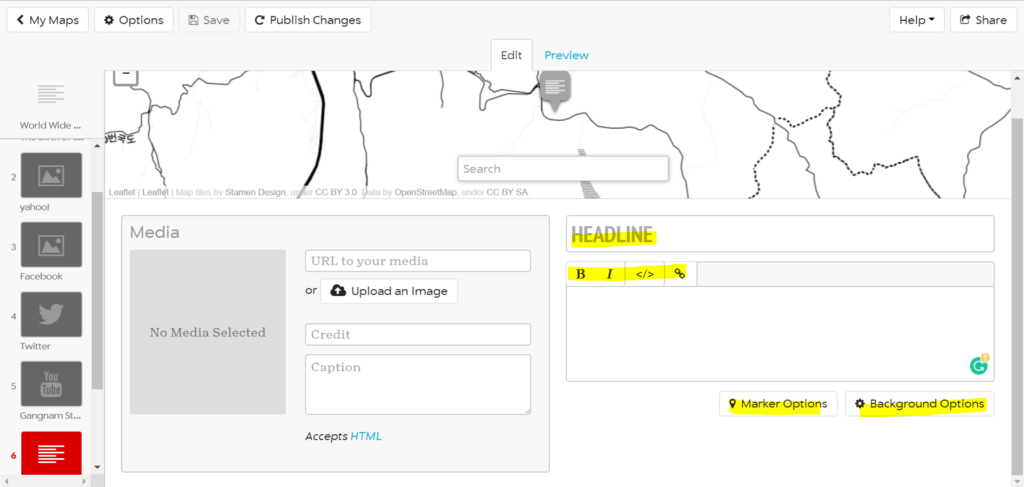
- 5. Add to each slide a title and description of the event.
- 6. Adjust the background, font and “marker” for your slide on the right side of the screen.
- 7. Preview your presentation by selecting “Preview”
- 8. Use the “options” section along the top of the page to further personalize your StoryMap, adjust the type of map used, the language and size of the map.
- 9. Use the drop down “Help” section to see more advanced features or look through a support forum.
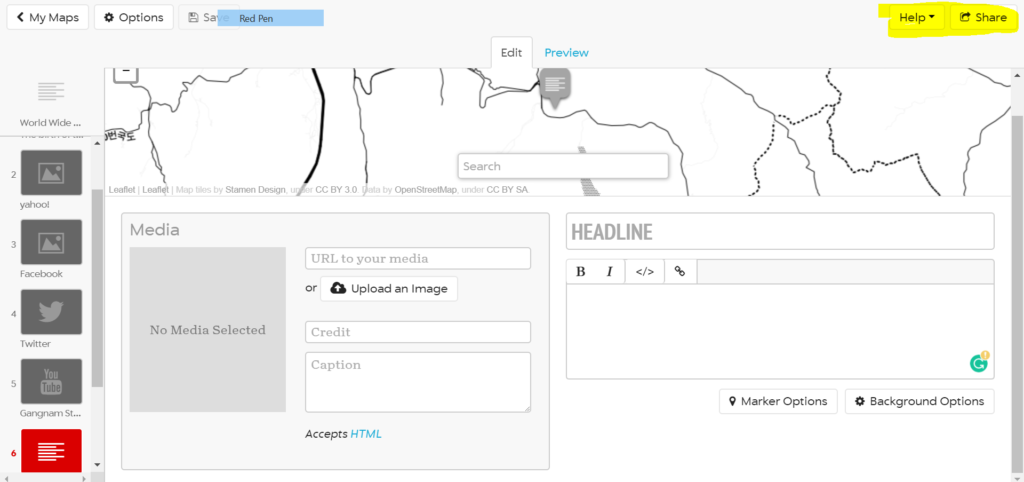
- 10. Share your Story Map to social media or via a link provides when clicking “Share” in the top right corner of the page
Another great resource for learning to use StoryMapJS is this video: https://www.youtube.com/watch?v=rSw3ZO8gDgc